Banish Winter Tiredness

Many people feel tired and sluggish during winter. There are a few natural and easy ways to increase your energy level in the winter and increase your energy level and stamina.

Try these tips:

Eat more fruit and veggies! When it’s cold and dark outside, it can be tempting to fill up on unhealthy comfort food. However, it’s important to ensure you still have a healthy diet and include five portions of fruit and veg a day. If you find yourself craving a sugary treat, try a juicy clementine instead.

Drink more milk! You are more likely to get a cold in winter, so make sure your immune system is in tip-top condition. Milk and dairy products such as cheese and yogurts are great sources of protein, vitamins A and B12, and Calcium. Choose semi-skimmed rather than full fat varieties. Be sure to continue water hydration too!

Have a hearty breakfast! Eating a warm bowlful of oatmeal on a cold morning isn’t just a delicious way to start your day, it also helps boost your intake of starchy foods and fiber which give you energy and help you feel fuller for longer, stopping the temptation to snack mid-morning. Oats also contain lots of vital vitamins and minerals. Add a sliced banana, berries or other fruit for extra flavor and to help you hit your 5 A Day target.

Try new activities for the whole family! Don’t use the cold winter months as an excuse to stay in and lounge around. Instead, get out with the whole family to try out a new activity –maybe ice skating, or taking a brisk winter walk through the park or find a fun spot to hike in the woods away from the city. Be sure to take your furry friends with you, as they too should not use the winter to lounge around!

Get a good night sleep! Go to bed and wake up at the same time every day will help your body reset naturally and you should feel more ready to tackle life’s challenges more patiently with a well-rested body. Right before bedtime, limit TV, computer games, and online news or social media, as they can cause stress. De-stressing just before bedtime with exercise or meditation can help you fall asleep more naturally. Also, waking up at the same time every morning will actually help you to sleep better at night.

In conclusion, take care of yourself so that you don’t become tolerant to the winter doldrums. Keep vigilant in your perseverance to stay healthy!

From Carving To Compost

4 Steps to Composting a Pumpkin Properly

The season of fall is a wonderful time of change. Shorter days and cooler nights.  Soups and casseroles, ciders and cocoas.  Fire pits, football and Halloween!  Even if you choose not to celebrate or remember this 31st day in October, chances are you will enjoy pumpkins in some form or fashion during the beautiful season we call Fall. 

Picking the perfect pumpkin is a task that most of us enjoy.  Whether going to a farm, grocery store or farmers market, the wide variety of these large squash are readily available making it easy to find our creative catch.  The fact that there are so many to choose from makes the task even more pleasurable. I bet you didn’t know that farmers grow two billion pounds of pumpkin per year.  Even though pumpkins contain many good nutrients including fiber and anti-oxidants, most will not be eaten.  Most Pumpkins will either be used as fall décor or carved!  These activities are an excellent way to use the orange squash creatively and add much fun to the fall season. 

Once we are finished enjoying them, let’s be wise to dispose of our pumpkins properly.  If we aren’t careful, a lot of pumpkins will rot!  Plus, they will emit methane, which is classified as one of our greenhouse gasses and is devastating to the climate because of how effectively it absorbs heat.  Methane (CH4) is a colorless, odorless, and highly flammable gas composed of one carbon atom and four hydrogen atoms.  When burned in the presence of oxygen, it produces carbon dioxide and water vapor.  We can dispose of our pumpkins in a way that will benefit the environment and potentially benefit our planet instead of contributing to its demise. 

If you are not going to use your carved or display pumpkin for a tasty recipe, then consider taking these simple steps to compost her properly.

4 Steps to Composting a Pumpkin Properly:

  1. Remove all non-natural items.  Take out all props and decorations and the candle or light source.  Don’t forget to wash off any paint or glitter or glue.
  2. If your pumpkin is still whole, this is the time to cut into it and remove the seeds.  The seeds will likely sprout in your compost.  If you’re okay with sprouts, then you can leave them in.  Pumpkin seeds are known for easy growth, so don’t be surprised by the generous number of sprouts within your pile.  You can feed the seeds to wildlife or roast them for yourself!
  3. Break up the pumpkin into smaller pieces.  Here’s your chance to let off some steam!  Pumpkin smashing is an especially thrilling experience for young and old.
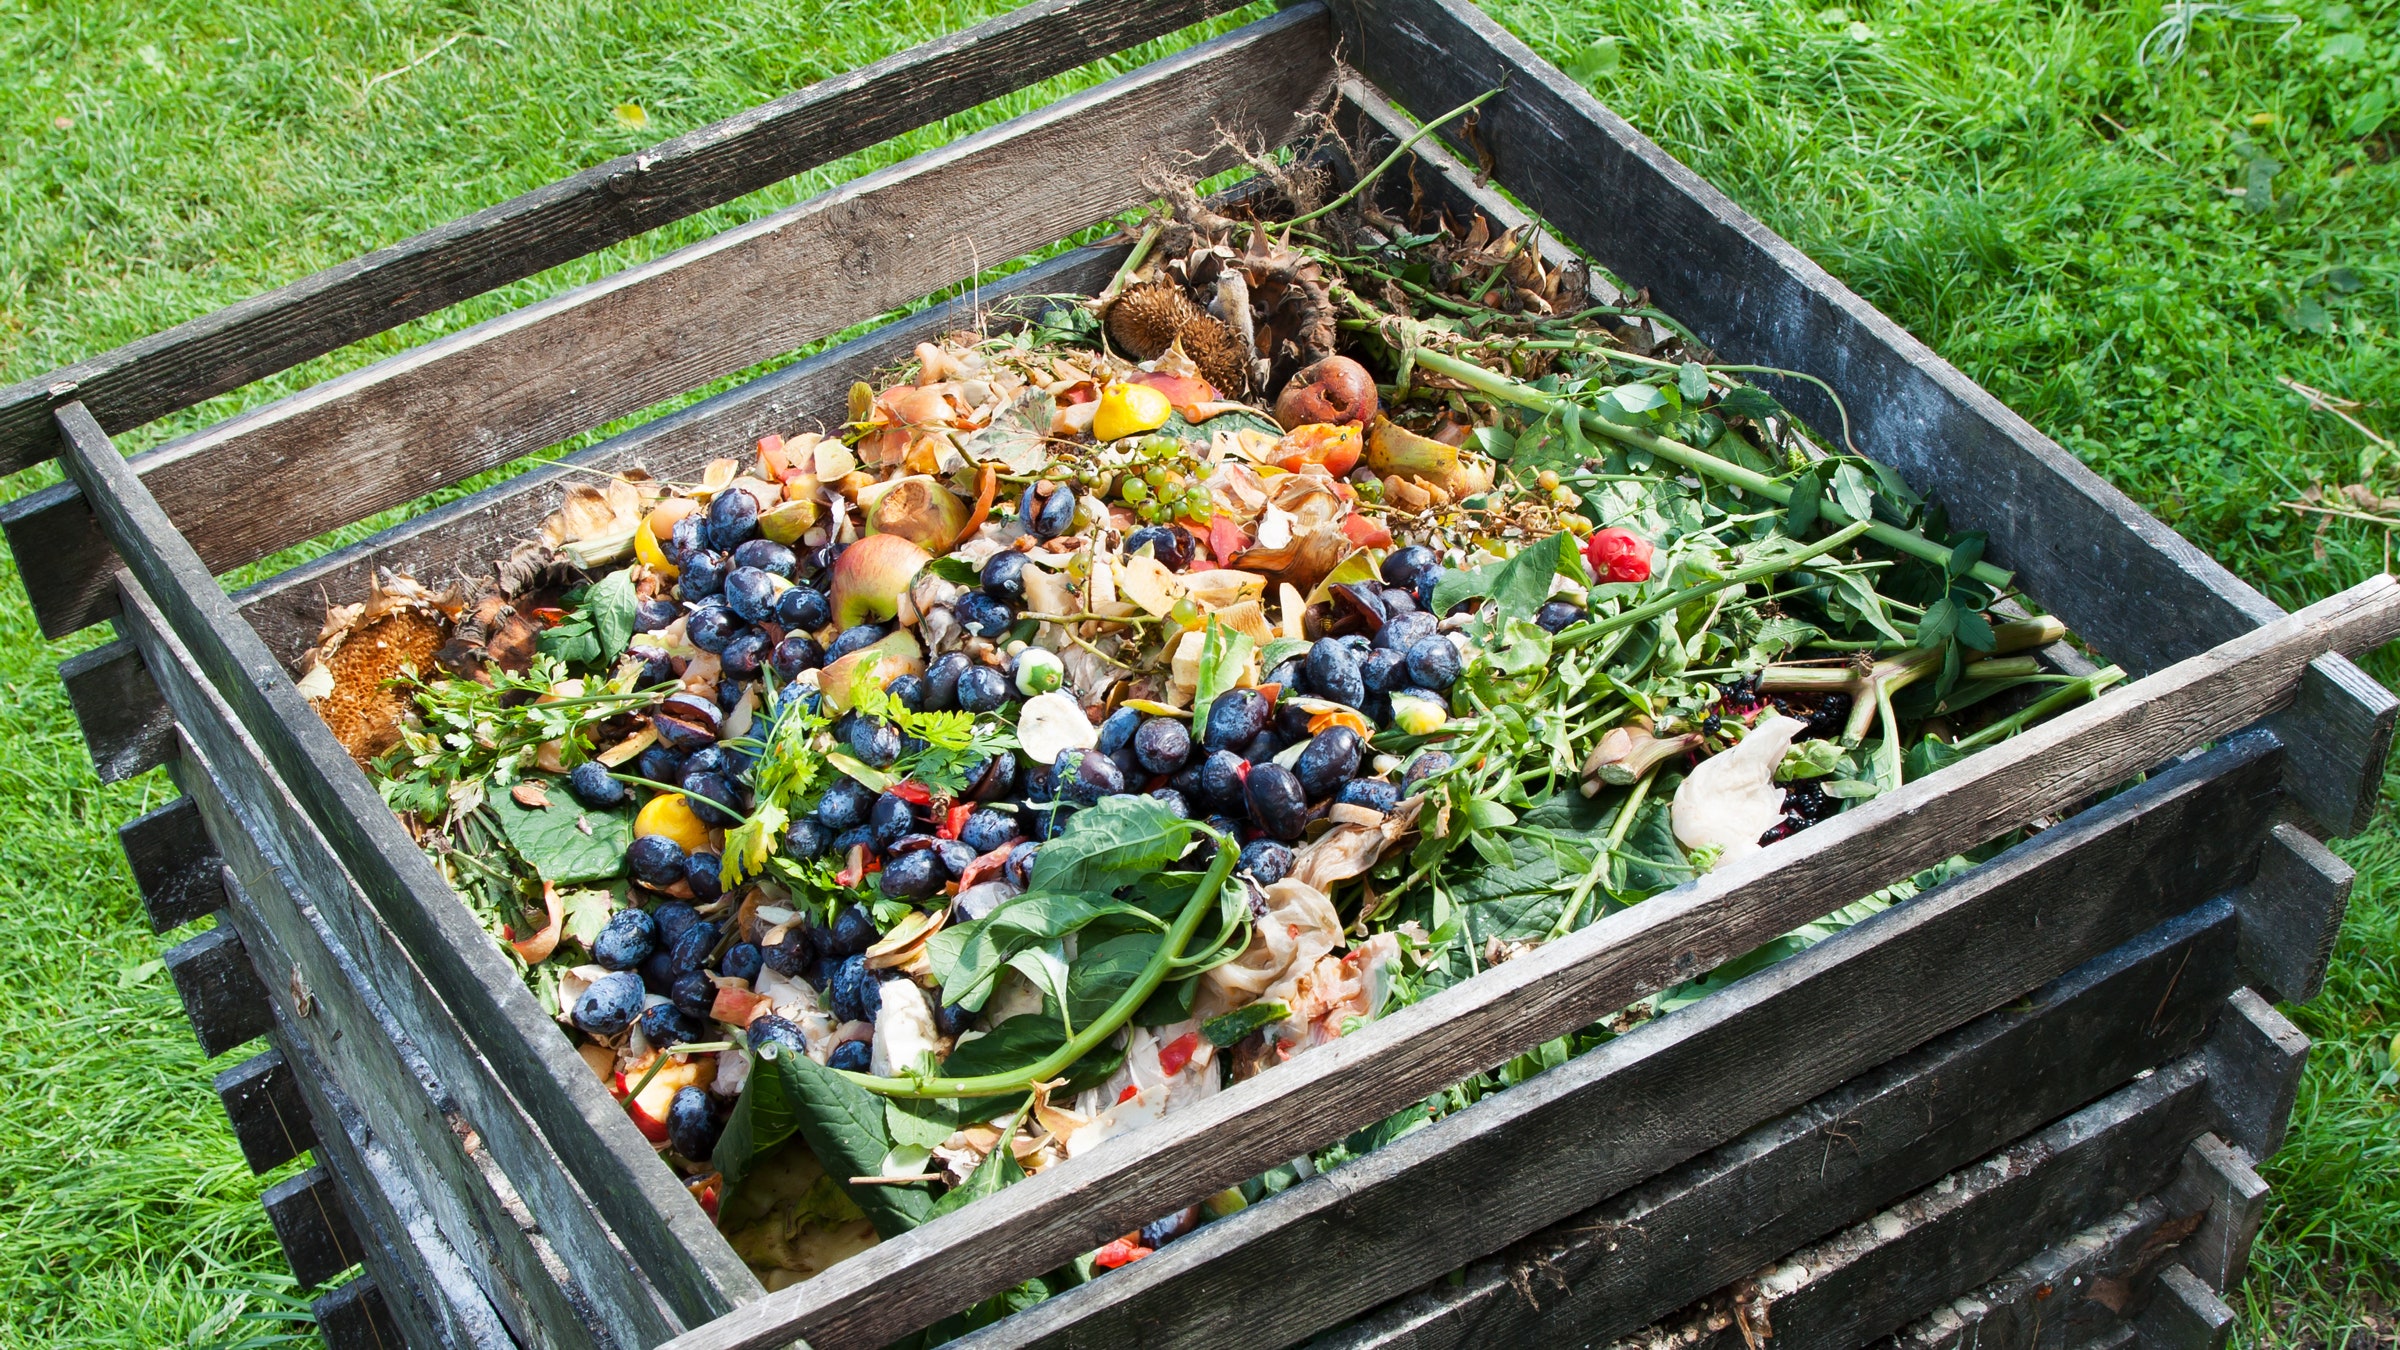
  4. Dig a hole in your compost and throw in your pumpkin.  Using a shovel, cover the pumpkin pieces with the existing compost, while continuing to break it up and mix into the pile.  Whether you have a compost bin or pile, the idea here is to bury the pumpkin for efficient composting.  You could also simply dig a hole in your garden area and bury it there.  It will naturally decompose and provide rich soil for spring.

If you’re not a composter, or you don’t live in a home where composting is available or allowed, consider donating it to a garden club, or friend who can compost for you.  If you have a yard, you could set it out for wildlife to eat, or find a nearby farmer who’s livestock would enjoy your pumpkin. 

Whether your fall season includes carving or decorating or none of the above, I hope you’ve learned a bit more here about pumpkins and the environment. 

Tree Care Prudence

Travel around a neighborhood after a storm and you will see tree limbs, large and small scattered about the ground. Why do some limbs fall after storms and some merely bend? One reason trees fail is weak branches. Trees may suffer from naturally formed imperfections that can lead to branch failure at the union of the branch and main stem. Proper pruning can encourage the formation of the strongest possible branches and branch attachments.  A professional arborist can assess your landscape and work with you to determine the best course of actions for your existing trees and can also work with you to determine the best trees to plant. 

Homeowner’s insurance typically covers damage to your home, structures attached to home, fences, and patios caused by falling trees and limbs. Automobile insurance typically covers damage to your car from falling trees and limbs. Storms can leave even the most immaculate landscape in disarray. It’s a mess and an eyesore to say the least! Uprooted trees, broken branches, and stray debris are common after a storm. To prevent this, evaluate your landscape for potential hazards before storm season. Even innocuous tree limbs can prove dangerous in bad weather, so be thorough in your assessment. It is wise to hire a licensed tree care expert to help with this assessment. Most insurance companies require that homeowner’s contract with a Certified Arborist for tree storm damage. In Maryland, homeowners must use a Licensed Tree Expert to make an insurance claim as well.

Whether you are worried about that large limb over your house or driveway, or if you are thinking of removing or planting, it is wise to do it before storm season. This way you will be ahead of any damage that may occur. Plus, contacting a tree care expert before damage will likely be more financially wise and time efficient. Trees are a significant feature of your landscaping and any reputable arborist will advocate protecting and nurturing tree health. Look for a full-service arboricultural business that caters to every aspect of tree care. It is prudent to maintain regular tree care thereby preventing future potential hazards and costly solutions, such as storm clean up and damage.

While our area does not threaten a huge number of storms, we should still be prepared. Storms will occur and damage will ensue. It is wisest to act according to a preventative plan. Be safe and rest assured your that biggest assets are protected.

Goodnight Grass

5 Ways To Care For Your Grass During Winter

Earth’s tilt and the sun’s alignment over the equator determine both the solstices and equinoxes.  Even though there is an official start to winter, your lawn may put itself to sleep before that date.  Dormancy is essentially the lawn going to sleep.  To conserve nutrients and water, it shuts down and goes brown for the winter season.  During this period there are a few ways you can care for your lawn.  Just as you would tuck your children in to bed, you can also say goodnight to your grass.  Here are five ways you can say goodnight to your grass.

  1. Clean Up The lawn

Before the frost sets in, clean your lawn of leaves and debris.  Even though you can rake away the dead grass, it will not stimulate growth.  If you rake, use a lifting – not dragging- motion.  This will avoid ripping out the dormant grass and be less stressful on your arms and back.  If you hire a lawn care professional, they will use a blower, which allows for a neat and tidy look, clearing all debris and dead grass in one swoop.  Keep in mind that clearing dead grass will not stimulate growth.  If the grass is completely dead to the roots, it cannot produce new growth, so the bare patch will need to be prepared for reseeding or laying new sod.

2. Cut The Lawn

Your grass should be cut to possibly the shortest height it has been cut all season.  The ideal height is around 2 ½ inches. If you cut it too low the grass may not be long enough to photosynthesize and provide nutrients to the roots, but too high and the frost might become matted after a snow fall. 

3. Fertilize

It is often beneficial to add a natural fertilizer to help ensure that your grass will be green, and lush come spring. If you did not fertilize at the end of summer, go ahead and do it before winter comes. Use a good organic fertilizer with no phosphates.

4. Reseed Dead Patches

Grass seed can survive the winter, and planting during the winter season is known as dormant seeding. The seed will just lay dormant since low temperatures prevent the seed from germinating until the soil starts to warm in spring. While this comes with risks, it can also be beneficial and save you time on seeding in spring.

5. Reduce your irrigation practices

Your grass does not need as much water in fall or winter.  If you are in a cool climate, you should stop watering altogether as the temperature dips.  You do not want it to freeze on your grass if the temperature suddenly drops below 32 degrees Fahrenheit.

Taking these appropriate steps may seem challenging and time consuming, but in the end your plants are worth it. As a homeowner with various demands, your time and expertise are limited. You may consider hiring a reputable lawn maintenance company such as Greenskeeper Landscaping to assist with an end of season clean up. 

Winterizing Plants

Summer Vacation Is Over for Potted Plants

If your houseplants have spent the summer outdoors, now may be the best time to end their vacation and move them back inside. Plants that live in pots can be brought indoors before the outside nighttime temperature dips below 50 degrees, especially tropical and subtropical plants.  Bringing them indoors protects them against a chilling injury or death, as well as allows you to enjoy them fully throughout fall and winter months. There are a few steps you can take to ensure a smooth transition.

First, you should acclimate your plant to the indoor environment by bringing it inside at night.  For the first few days, bring the container inside in the evening and back outside in the morning.  Then over the course of about two weeks, increase the amount of time the plant spends inside. Your plant should be accustomed to the new environment and can stay indoors fulltime at the end of a two-week transitional period.  I realize this is a terribly difficult process if you own a plethora of plants.  In such cases, you could use a wagon to house the plants to make going in and out easier.

Before you start transitioning your plants to indoors you should inspect them for insects.  Thoroughly check the leaves and flower petals and even the soil surface for mealy bugs or any other pest.  Use a magnifying glass and flashlight if warranted. Insects and pests traveling the plant bus into your warm home can multiply rapidly and quickly devour your beautiful garden.

Your indoor environment differs greatly from outdoors, especially in terms of light and temperature. While indoors, they will still require a good amount of daily sunlight. If possible, house them near windows where the curtains remain open during peak daytime hours.  Also, try to choose locations away from drafty areas, like doorways which are opened frequently.  Plants may experience some leaf droop, which should stop once they adjust to the new light and temperature conditions. 

Plants thrive in humid environments.  If you can group your plants together, they will naturally take care of each other.  When one plant loses moisture from its leaves it increases the humidity around its neighbors.  Be sure not to place your plants near heater vents.  If you can, house your indoor plants in your kitchen or bathrooms, which tend to have the highest level of humidity in your home.  If you would like, you could spray your plant’s leaves with a daily dose of fresh tap water.

It is a common misconception that houseplants need more water or fertilizing.  Plants grow at a slower rate in reduced sunlight therefore do not require as much water.  Do not overdo the watering!  Keep in mind that if it is cloudy or rainy out, plants won’t get enough light in order to dry out from your watering efforts.  Be sure to let the soil surface dry out in between watering.  Finally, plants do not need fertilizer until spring when they begin actively growing again.  This will be easy to notice as the leaves perk up with a glistening charm and begin to show signs of small blossoms.

It is important to reduce the amount of stress you put on your houseplants as much as possible when transitioning them indoors. Sudden changes in temperature, light and humidity can result in yellowing leaves, dieback, wilting and even death in some cases. Taking these appropriate steps may seem challenging and time consuming, but in the end your plants are worth it!